Production video
Printing the customer’s design
The one-colour artwork is printed onto the flat board before the box is cut and assembled.

This case study follows the complete journey of a made-to-measure cardboard box, from the customer’s original order requirements through design, material selection, printing, manufacturing, assembly and the final finished result.
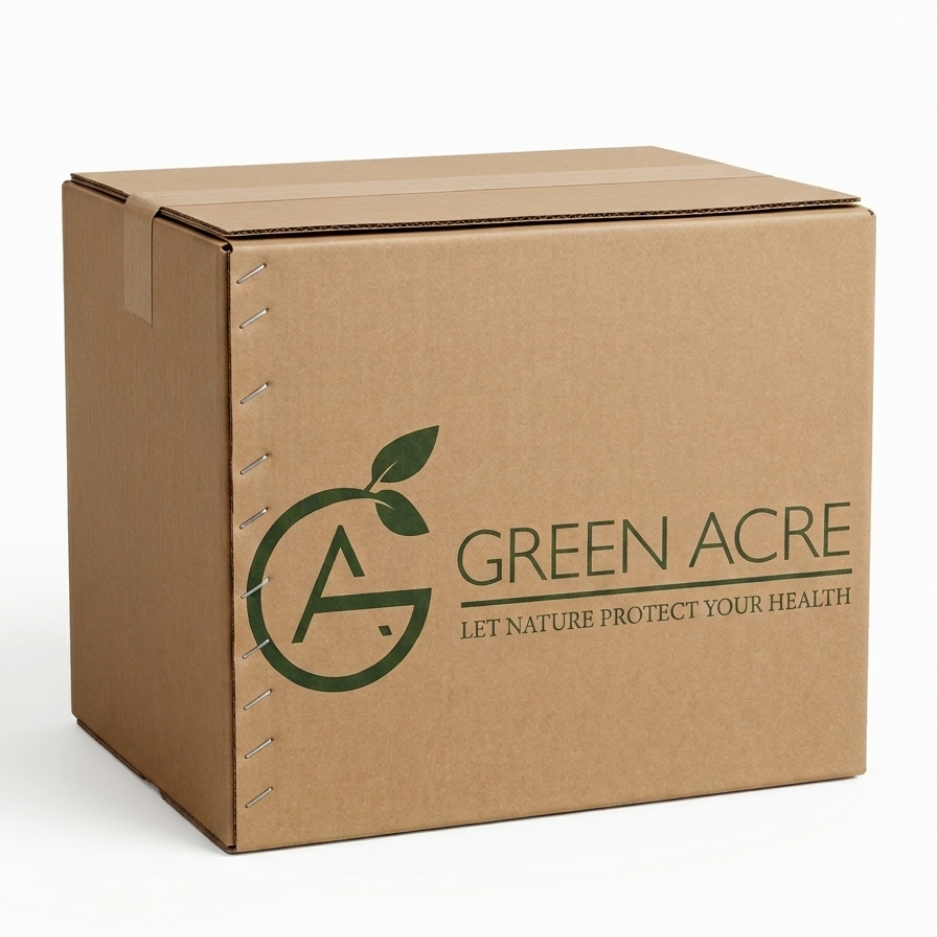
The customer required a strong, made-to-measure printed box for a product that needed improved protection during handling, storage and transportation.
They selected an overlapping-flap box style, Tuff Wall material and a single-colour printed finish in natural brown kraft board.
The customer used our online Custom Box Calculator to select the box style, material, printing option, dimensions and other requirements.
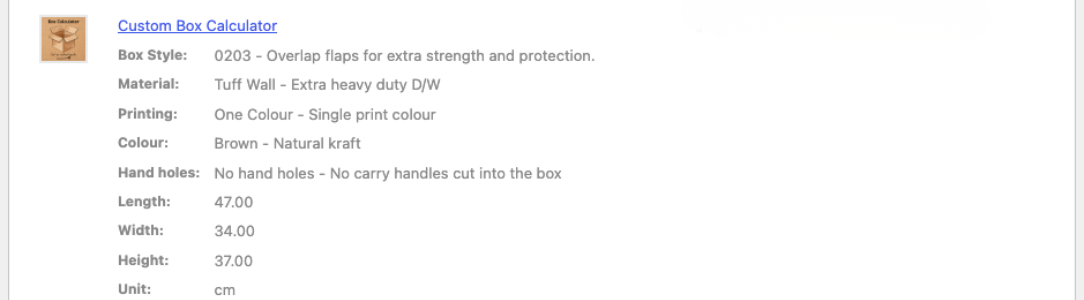
This order information gives our production team the essential details required to manufacture the box accurately. It confirms the selected style, material, print option, colour and internal dimensions.
Every made-to-measure box passes through a structured process to ensure that the dimensions, material, print and finished construction meet the customer’s requirements.
We reviewed the selected box style, material, dimensions, print requirements and intended packaging application.
The supplied logo or print design was checked and positioned for the required box panels.
Tuff Wall board was selected to provide extra-heavy-duty Double Wall protection and improved stacking strength.
The customer’s branding was applied directly to the flat cardboard material using the selected print colour.
The board was accurately cut and creased to create the required 0203 overlapping-flap box structure.
The box was assembled and checked for fit, print position, structural strength and overall presentation.
These images and videos show the different production stages involved in turning flat corrugated board into a finished custom box.
The one-colour artwork is printed onto the flat board before the box is cut and assembled.
The finished flat blank is folded into shape so the structure, overlapping flaps and finished dimensions can be inspected.
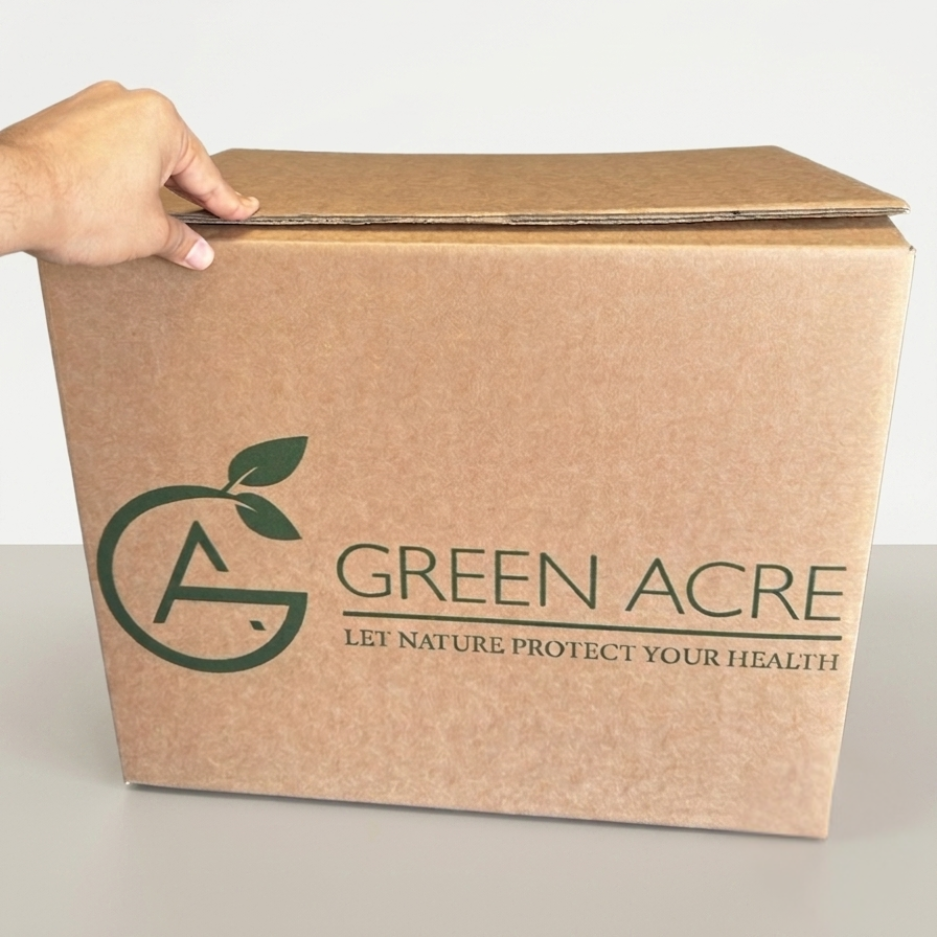
The completed box is checked for print quality, dimensions, structure and overall finish.
Swipe sideways on mobile to view all production images and videos.
The completed box combined heavy-duty protection, accurate internal dimensions and clear printed branding.
The finished 0203 box provided the customer with a robust packaging solution designed around their exact requirements.
The made-to-measure dimensions reduced unnecessary empty space and helped hold the product more securely.
Tuff Wall material and overlapping flaps provided stronger structural support during handling and transport.
The printed finish helped turn a transit box into a more recognisable and professional branded package.
Use our online box calculator to choose your box style, material, dimensions and printing requirements, or contact our team for help with a more demanding packaging project.